With our Prototyping and Presentation features, you can turn static designs into interactive mockups. Let your users, teams, and stakeholders experience the app before it is built!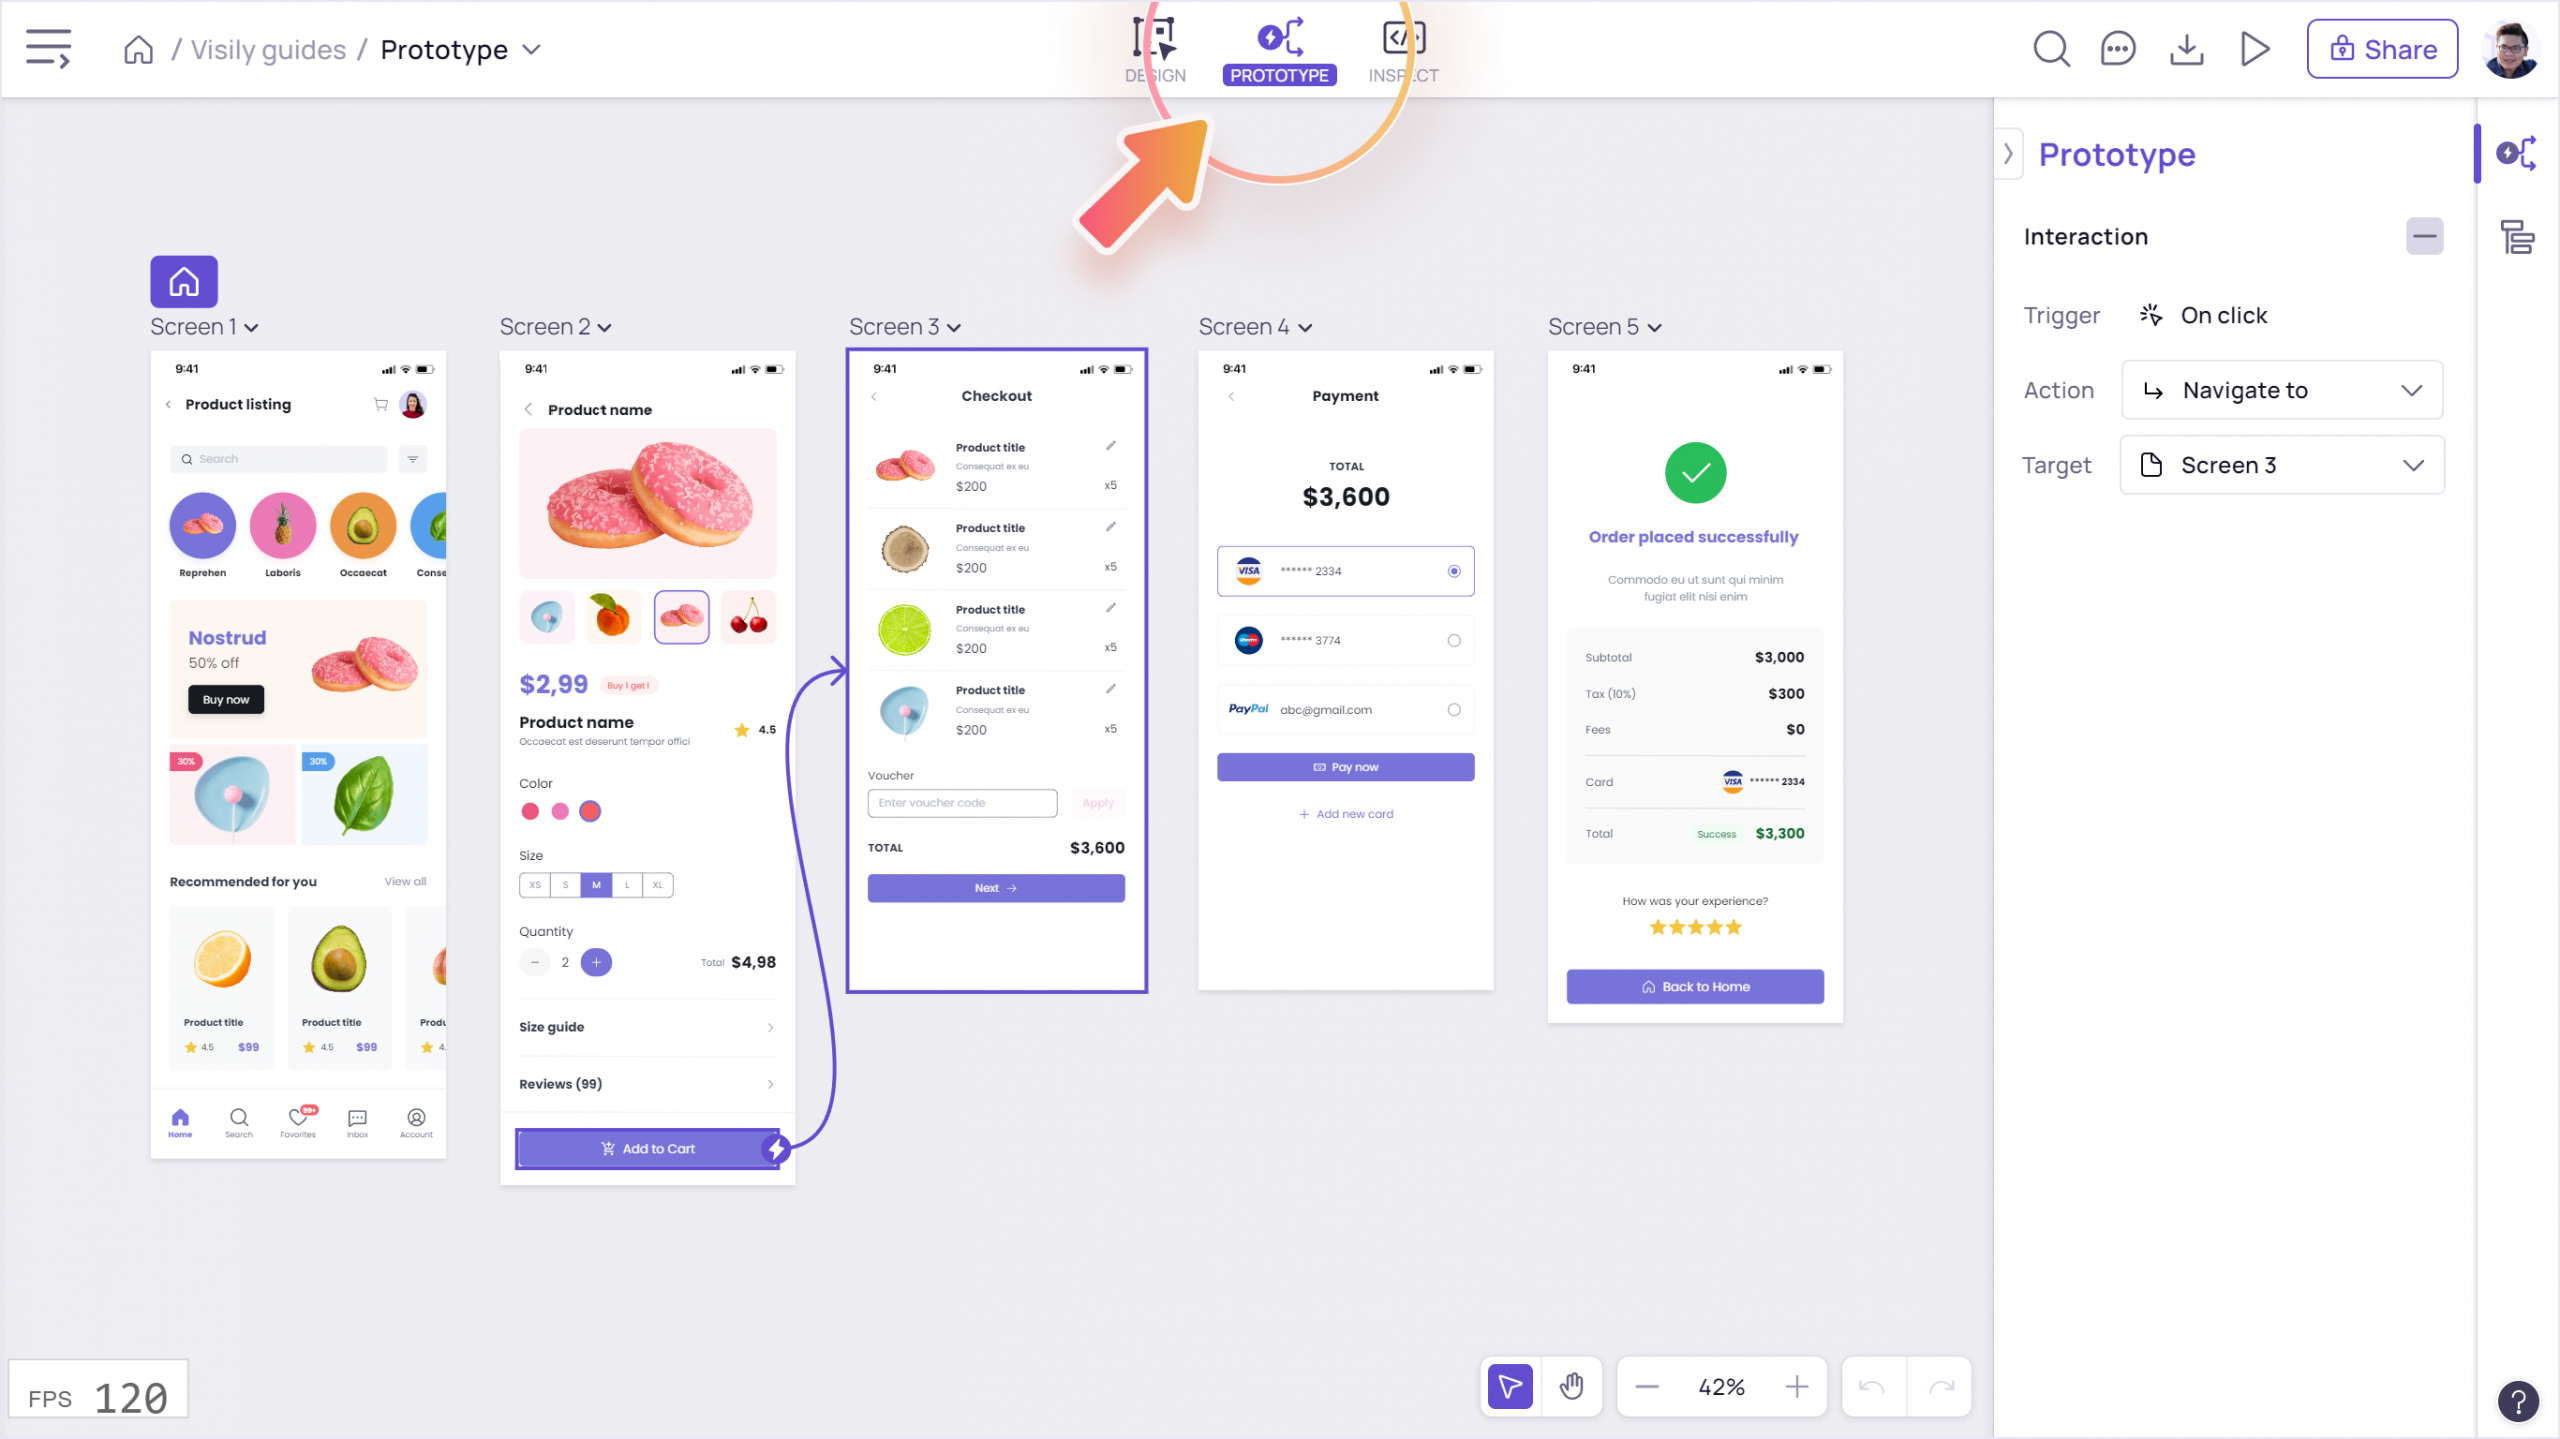


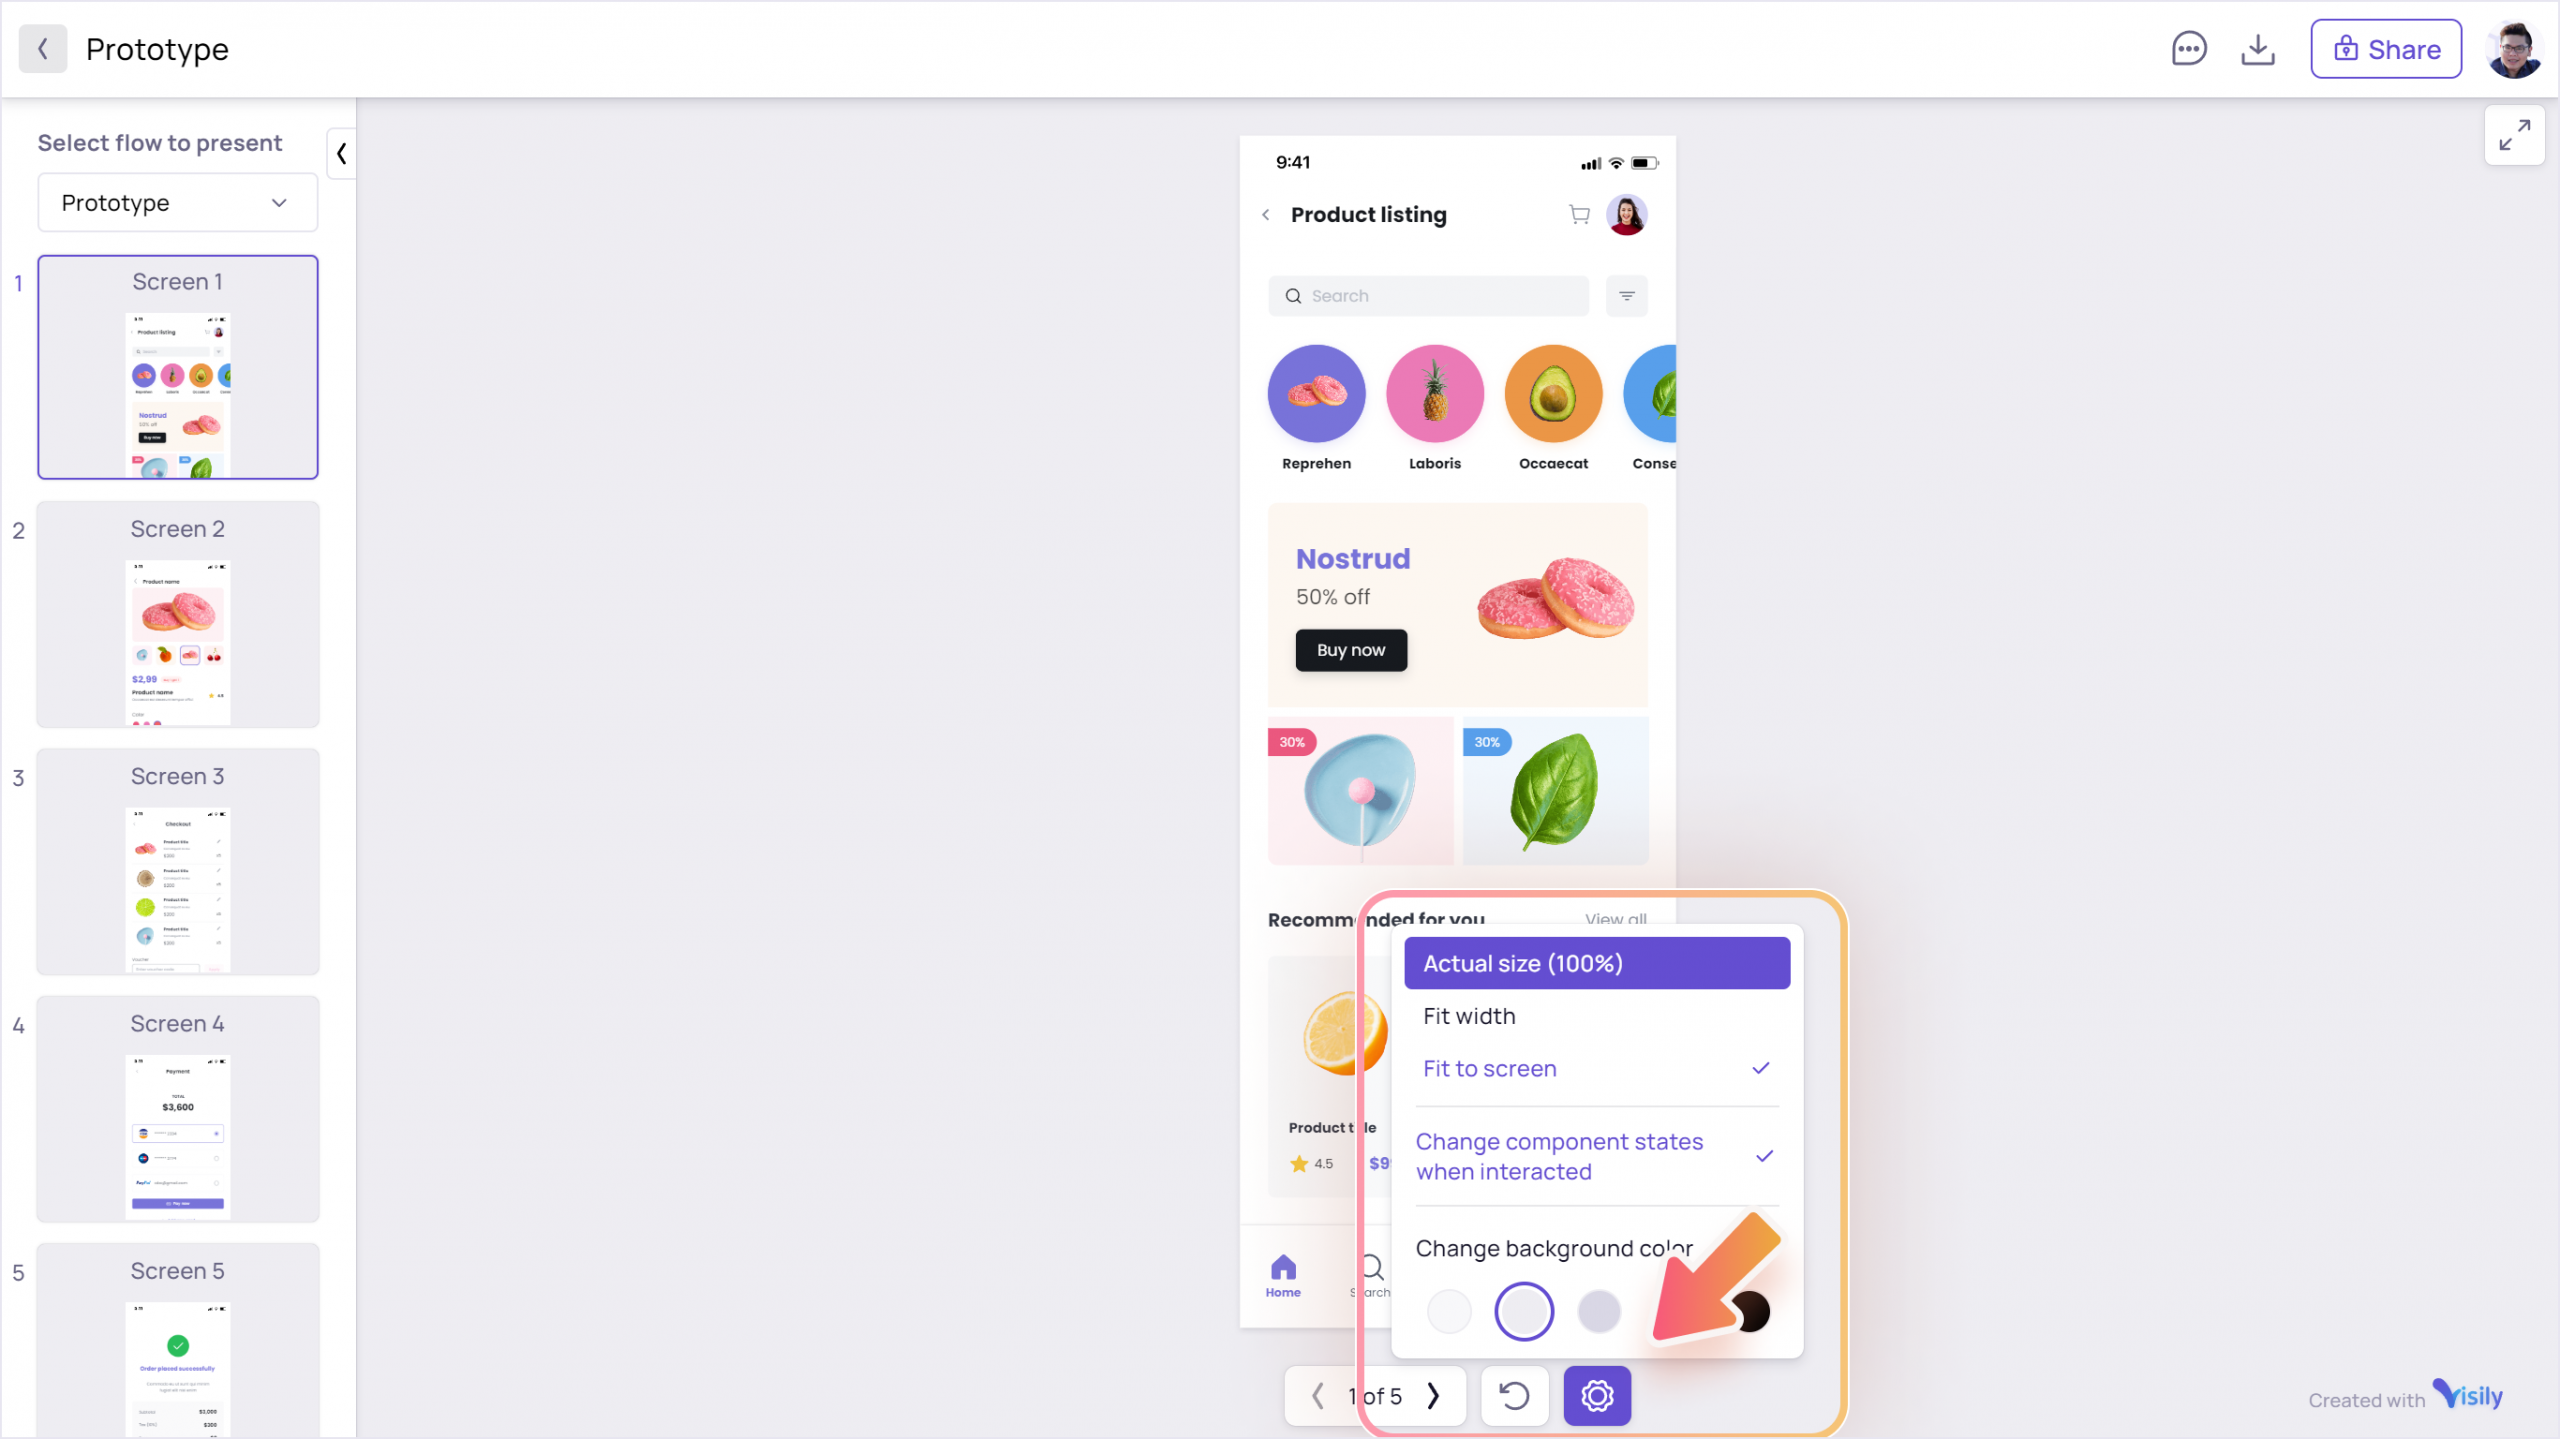
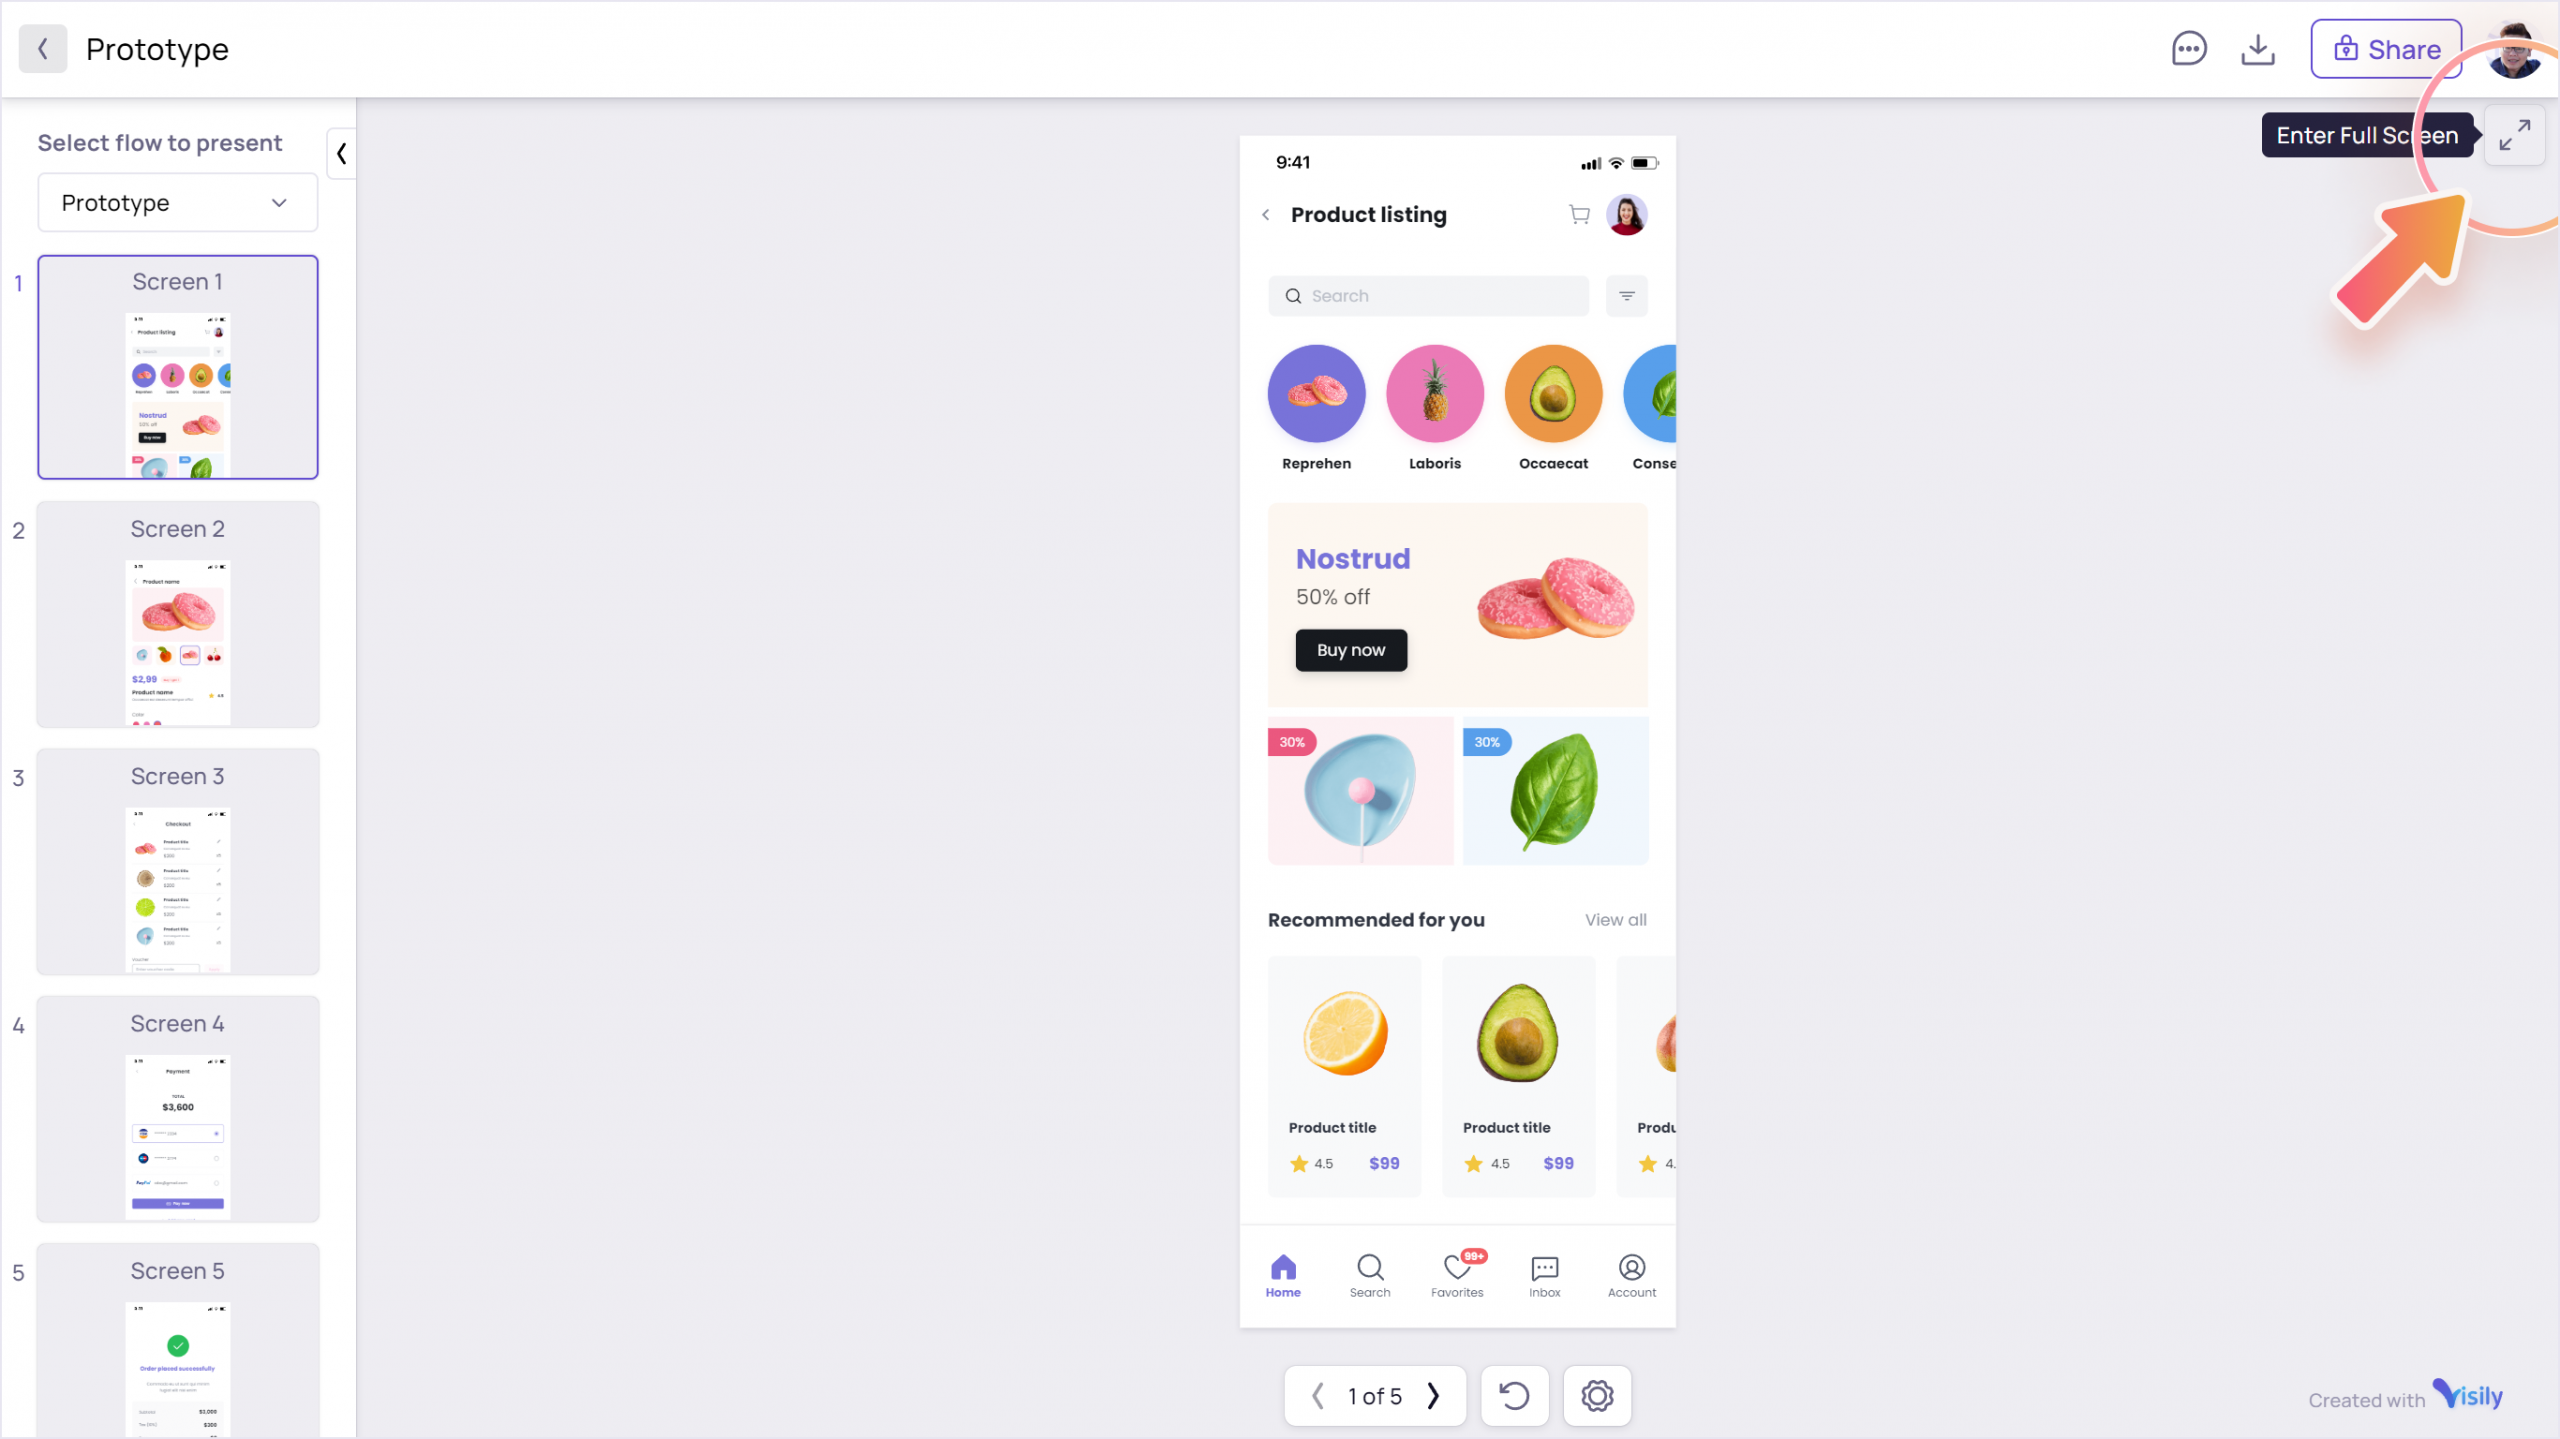 You can also adjust the zoom level of the design. Click on the “Settings” icon on the bottom bar to choose your preferred view: Actual size (100%), Fit to screen (show full screen), and Fill width (fill the width of the viewing area of the window)

Prototyping mode
Prototyping mode allows you to create the app flows. You can add interactions by connecting a component or a screen to another screen and showing the user journey.Open the Prototyping mode
To access Prototyping mode, click the “Prototype” icon on the topbar of the working screen
Add interaction to an element
You can select an element to add an interaction to in 2 ways:- Draw a connecting line between that element and the destination screen
- Click Add interaction on the right panel to select the interaction type and destination screen

Tip: The smart components (button, menu, textbox, etc.) come with inherent style settings for different states such as Hovered, Selected, Pressed, etc. You’ll see the style changes as you interact with these smart components in Presentation mode without having to set up anything!
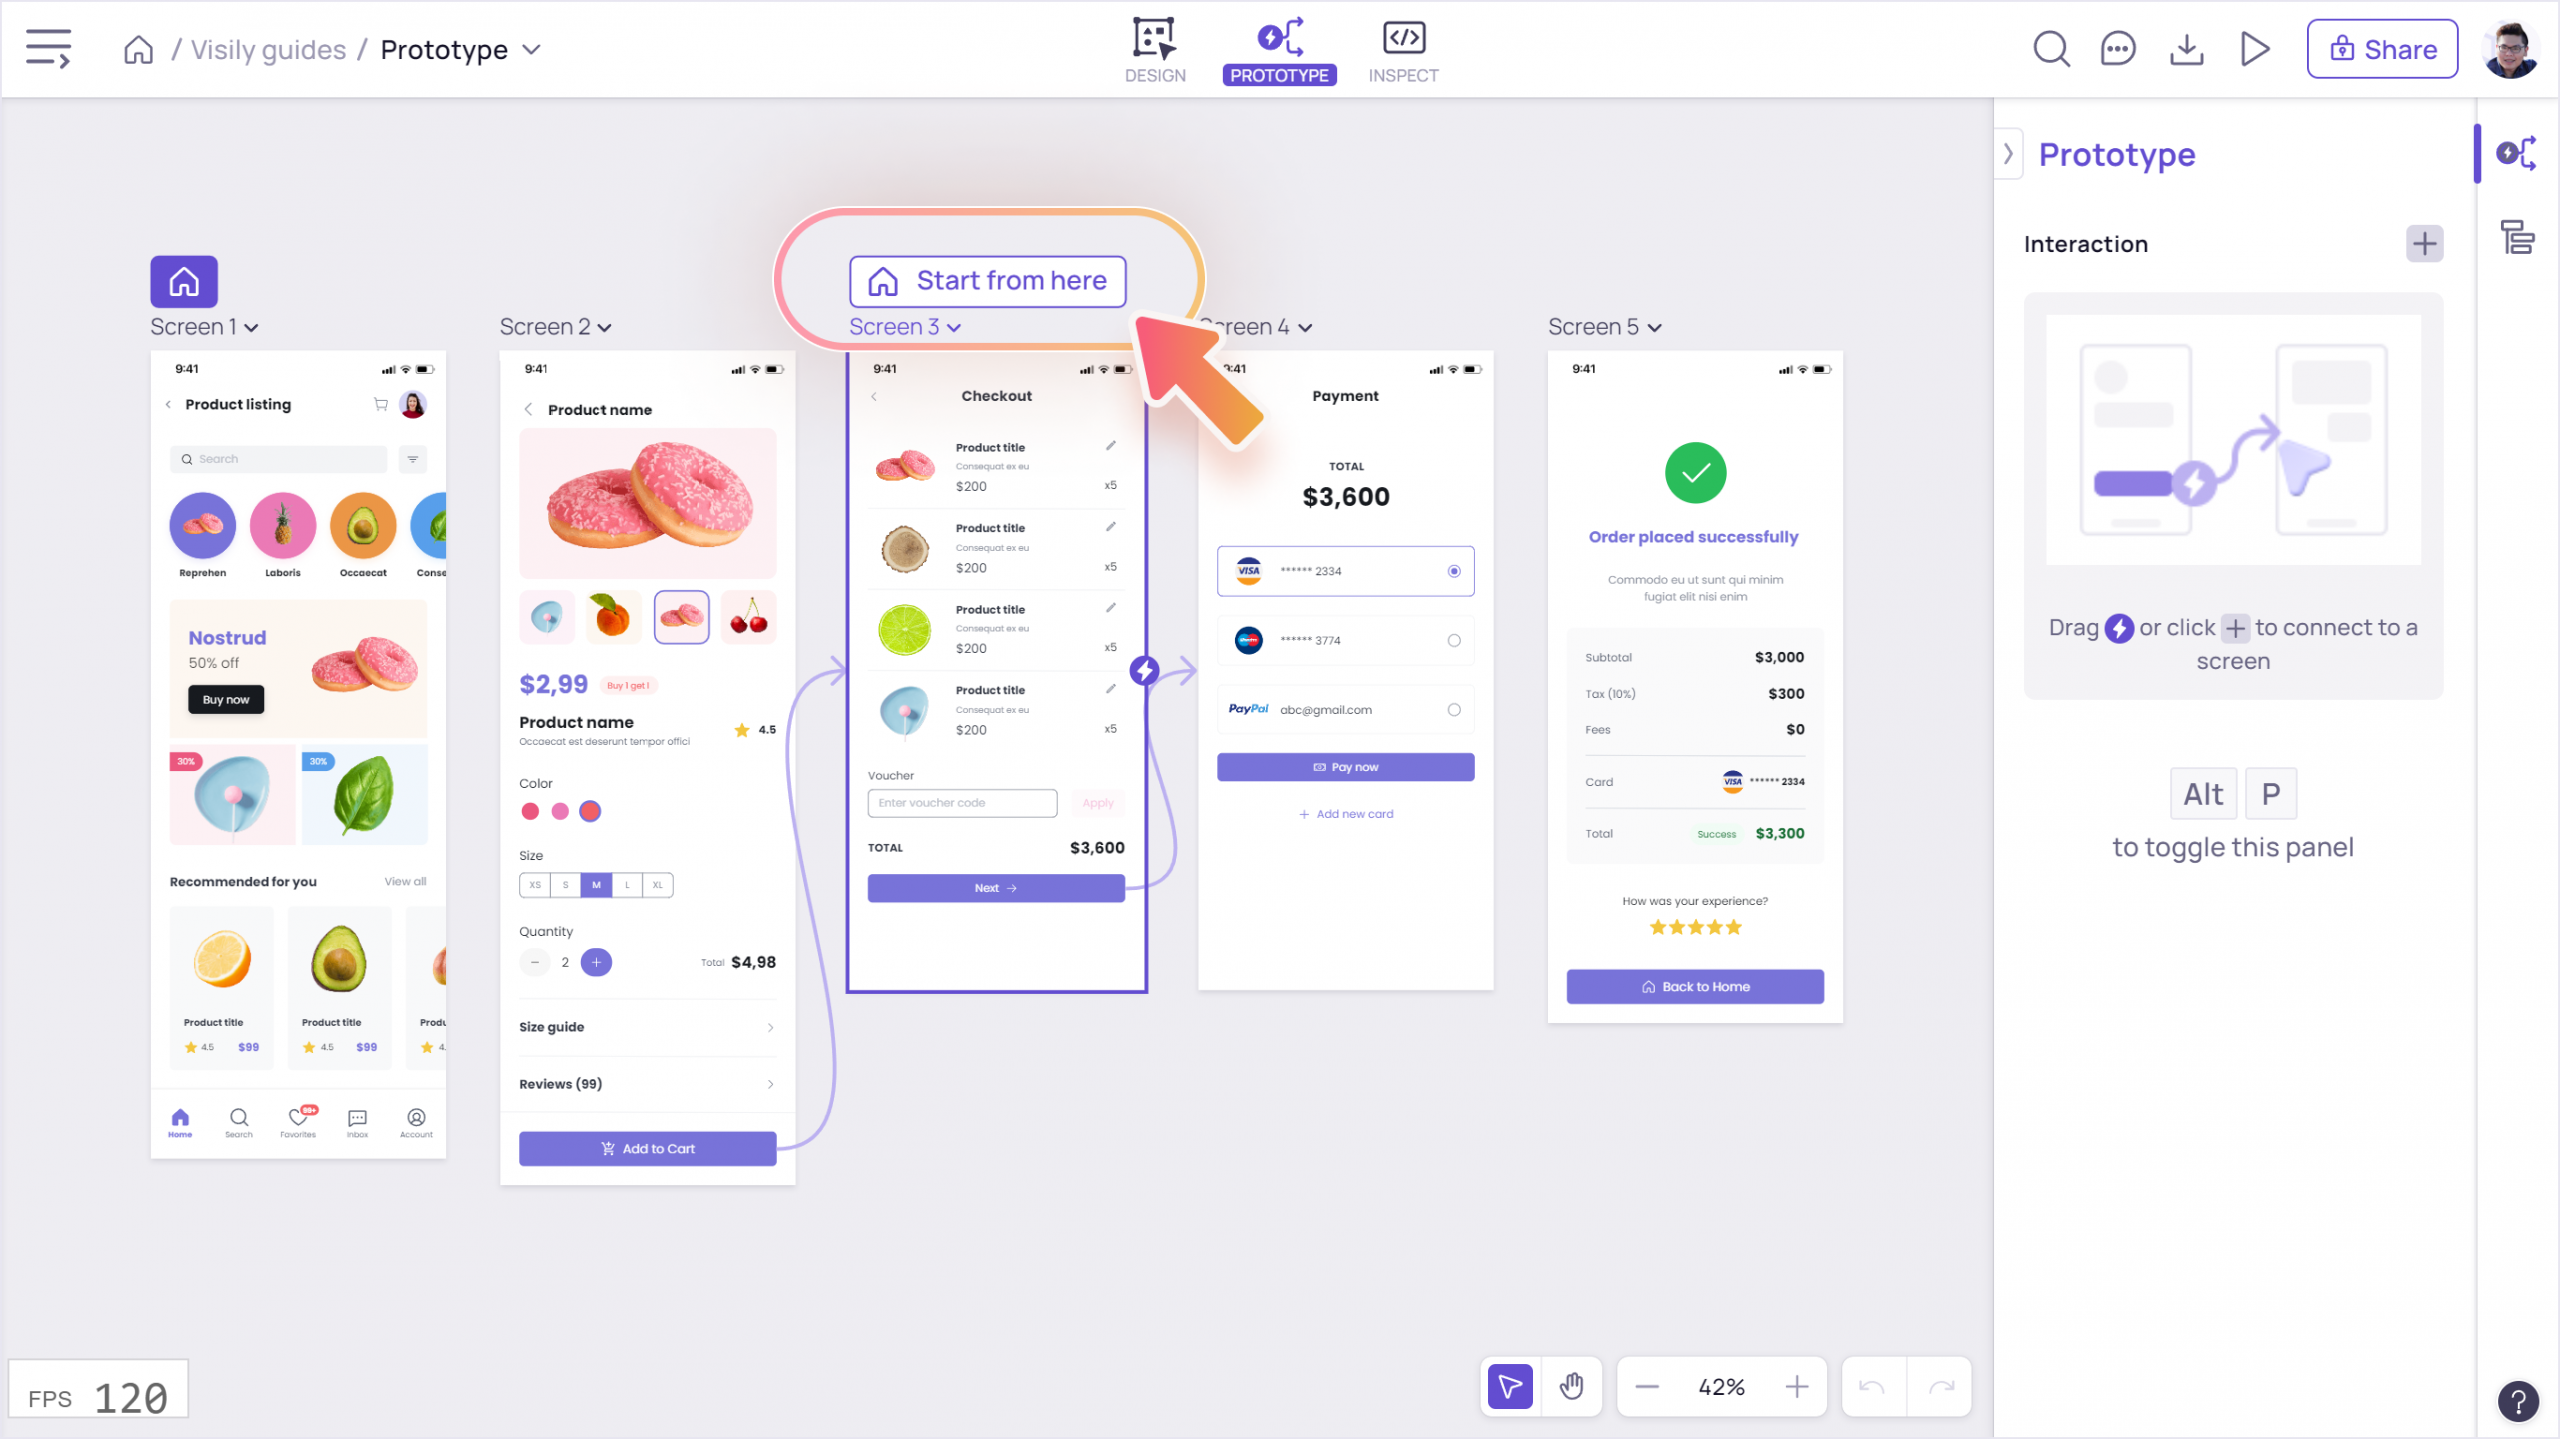
Choose a Home screen to start your presentation flow
To set a screen as a Home screen, or the starting point when you present the app flow, simply select that screen and click “Start from here” button.You can change the Homescreen to any screen you want by following the above steps, as well.Once you’re ready, click “Present” to enter Presentation mode.
Presentation mode
In the Presentation mode, Visily shows the flow you just setup through Prototyping mode.Open Presentation mode
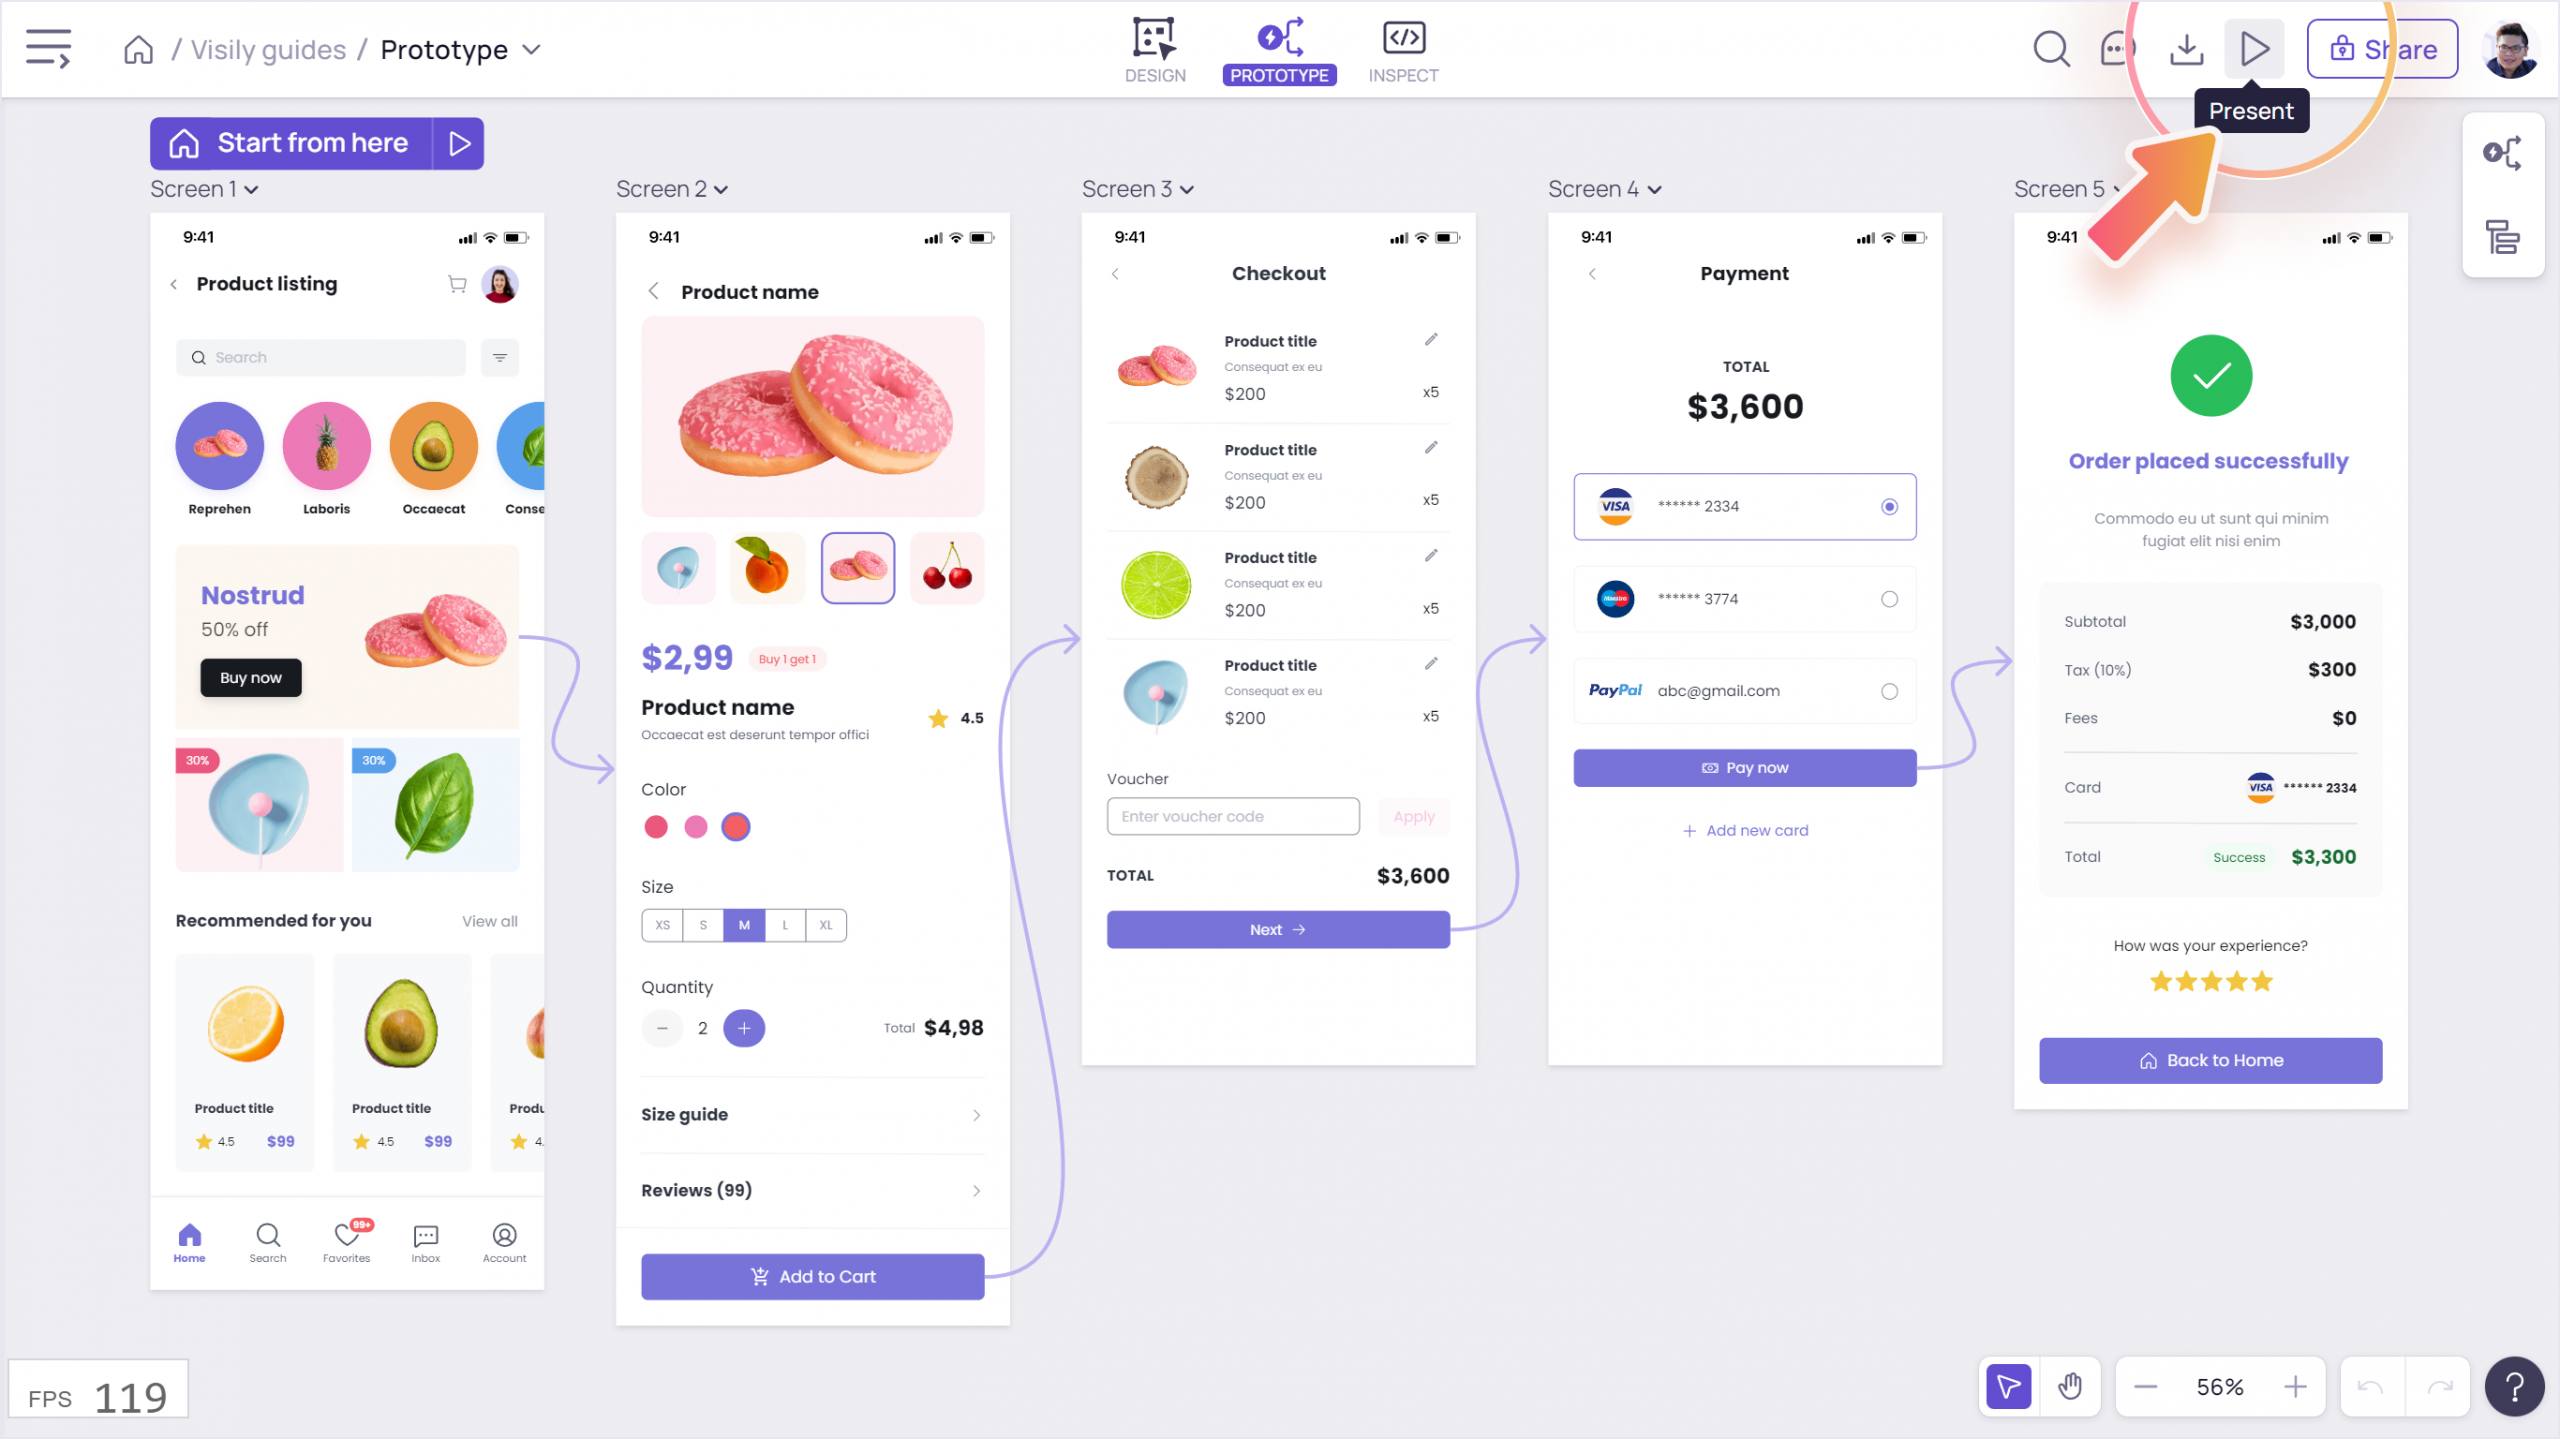
To present the prototype, click “Present” icon button on the top-bar

Tip: Another quick way to access is to click on the “Present” icon next to the “Start from here” tag above the selected Home screen.

Interact with elements
Click on elements with interaction to navigate to the destination screen. You can also use the arrow key (left-right or up-down) to navigate among the screens.Not know which element to click? Just click randomly on an empty space, and hotspots (the elements with the link) will be highlighted.What’s more, you can click on smart components such as buttons to see state changes without having to set up anything! Try out the checkbox, radio, switch, rating, slider, button, button group, and more to see for yourselves!Present all screens in the design
If you select “Prototype” for presentation, you’ll only see the screens included in that prototype flow. To present all screens on that board, change to “All screens”.
Tip: You can right-click on any spot in the board background to add a screen at that exact spot.
Adjust the zoom level and presentation area
Click on the “Full screen” icon at the top right for a cluster-free view while you present. You can press [Esc] or click again on the icon to exit the full-screen view. You can also adjust the zoom level of the design. Click on the “Settings” icon on the bottom bar to choose your preferred view: Actual size (100%), Fit to screen (show full screen), and Fill width (fill the width of the viewing area of the window)
Share the prototype to others
In the Presentation mode, you can click the “Share” button on top bar to copy the link and share it with other people.You can also export screens to different formats (PNG, JPG, PDF) and share them with others.
Tip: Select “All screens” to preview and reorder the screens. You can then export them into a single PDF file following that order.
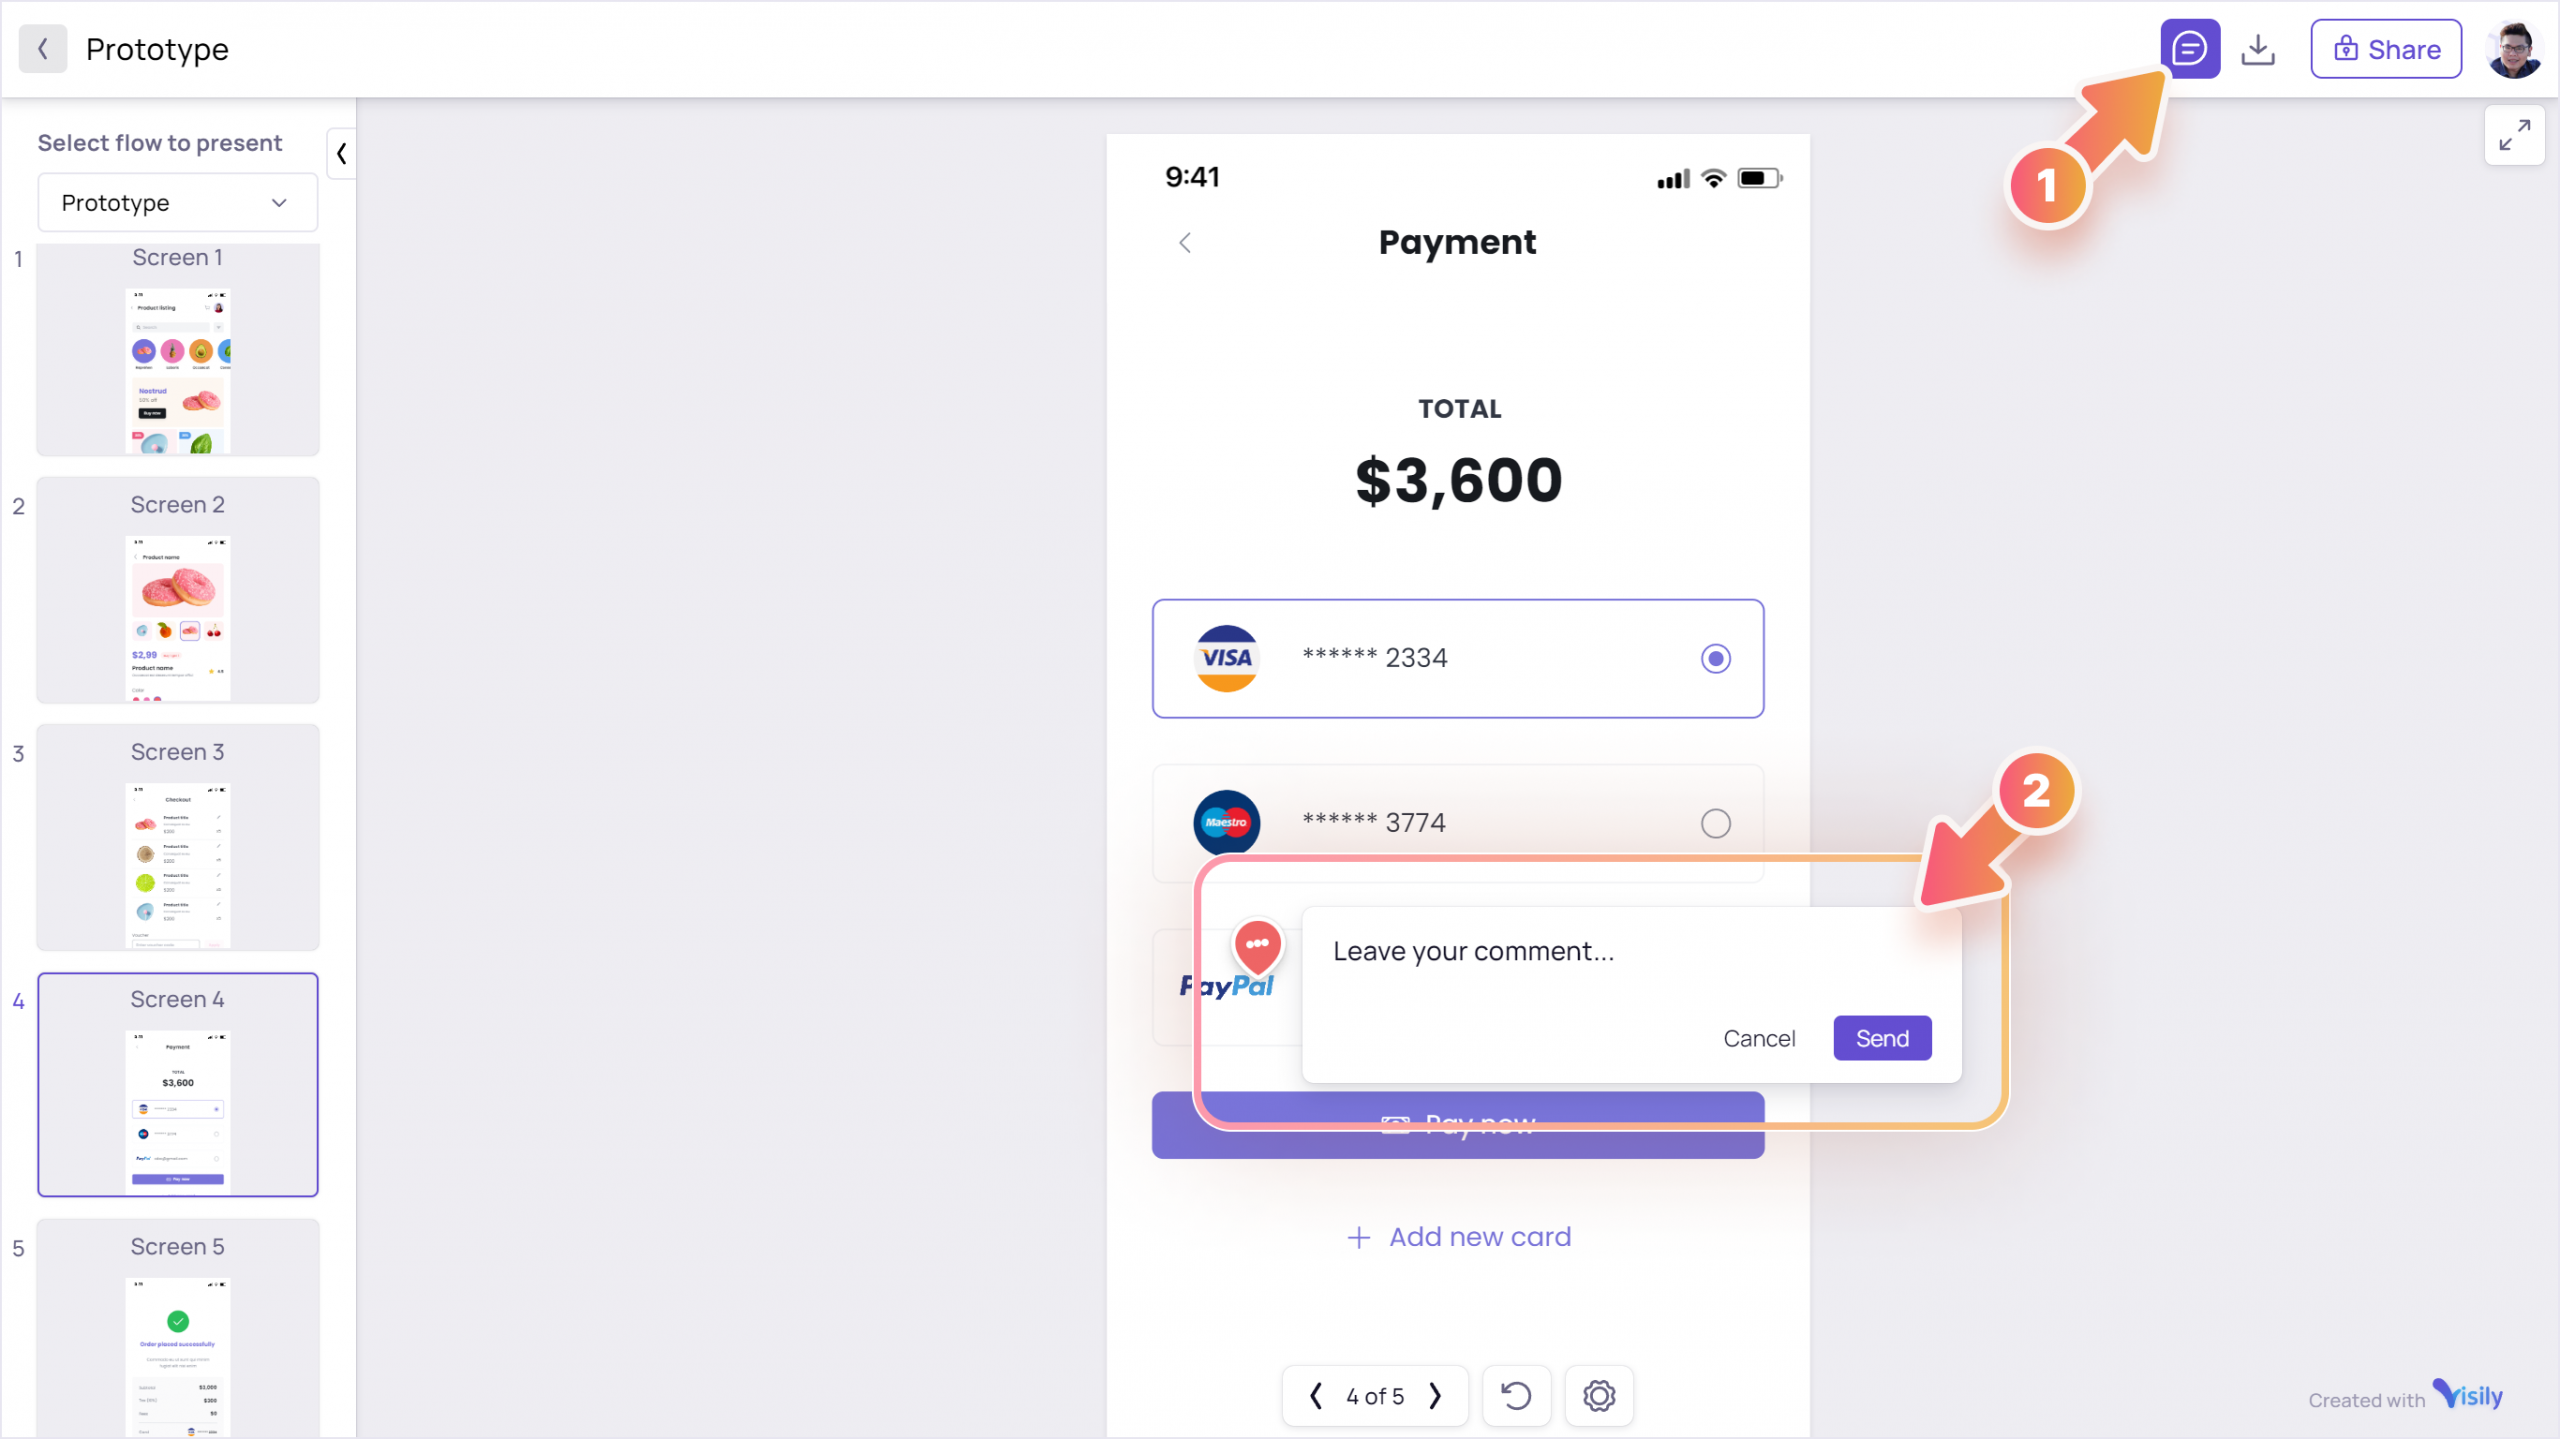
Add comments in Presentation mode.
You can add new comments or view and reply to the current comments on the screen presented. Click on the “Comment” icon on the top right or press C.
